
This article is a step-by-step guide on how to create your PacKit Workspace, add packages, configure them, wrap them in PSADT and upload them to Intune.
Creating a Workspace
The initial step in the workflow is to create a new Workspace (project) in PacKit. Just launch the app and click on the Create Workspace button from the Start Page:
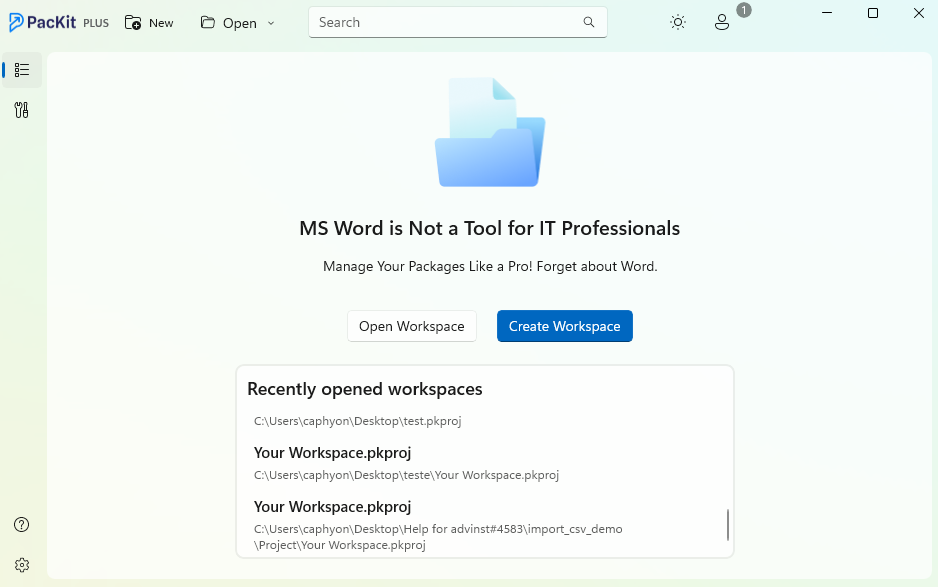
You will be prompted to save the workspace (a .pkproj file) in order to continue.
Adding a package
Once your workspace is created, you can add some packages from the disk, from WinGet catalog, from MECM or from Intune:
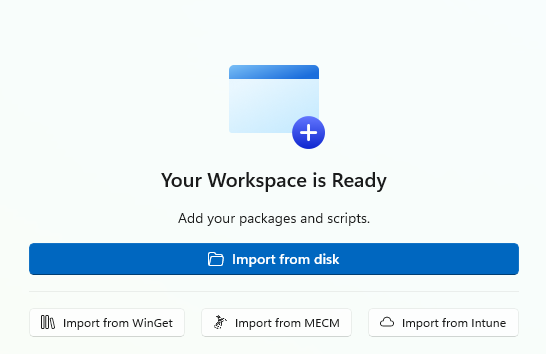
Let’s add a package from the disk and another one from the catalog. Once added to the workspace, the packages will be displayed in the Application list :

Configuration
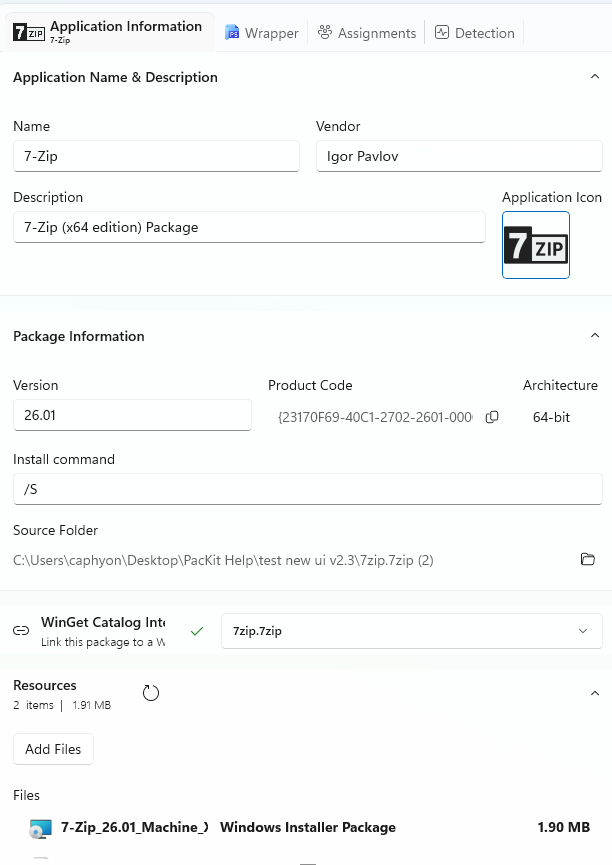
To save you valuable time, PacKit automatically populates all fields in Application Information views for all packages.
Nevertheless, you can further customize these settings as you wish:
Wrap in PSADT
Next, let’s wrap the package in a PSADT script. To achieve this, go to the Wrapper Tab, select the PSADT template and click on the Wrap with PSADT button.

The script will be created, and you’ll notice a new PSADT tab in the right pane of the application:
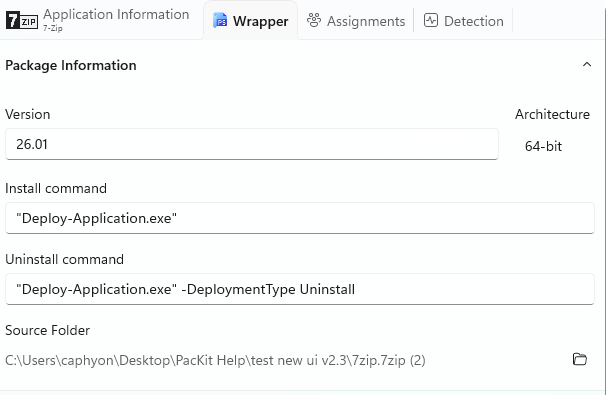
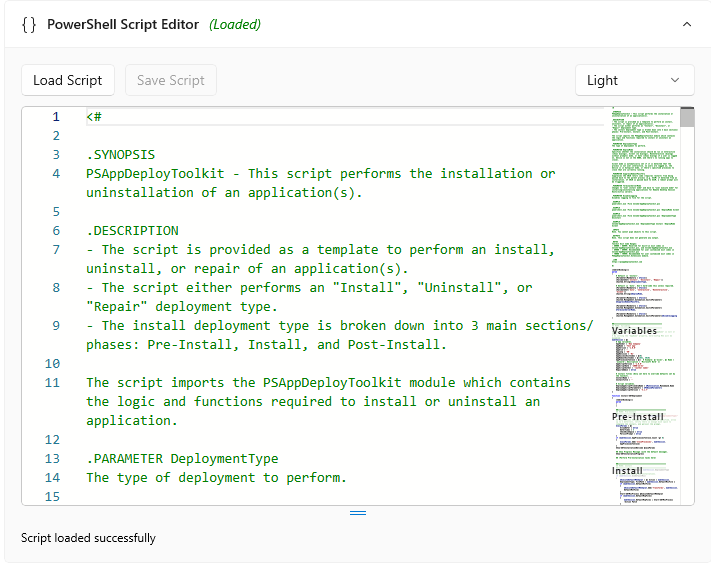
Also in this view, you can easily edit the script using our built-in editor if you need to:
Upload to Intune
Finally, you can easily upload the package to Intune with a few clicks. Just click on the dedicated Action Button in the package view:

For more information regarding the Intune integration in PacKit, see this article: Intune Login Experience.
