This article is a step-by-step guide on how to create your PacKit Workspace, add packages, configure them, wrap them in PSADT and upload them to Intune.
Creating a Workspace
The initial step in the workflow is to create a new Workspace (project) in PacKit. Just launch the app and click on the Create Workspace button from the Start Page:
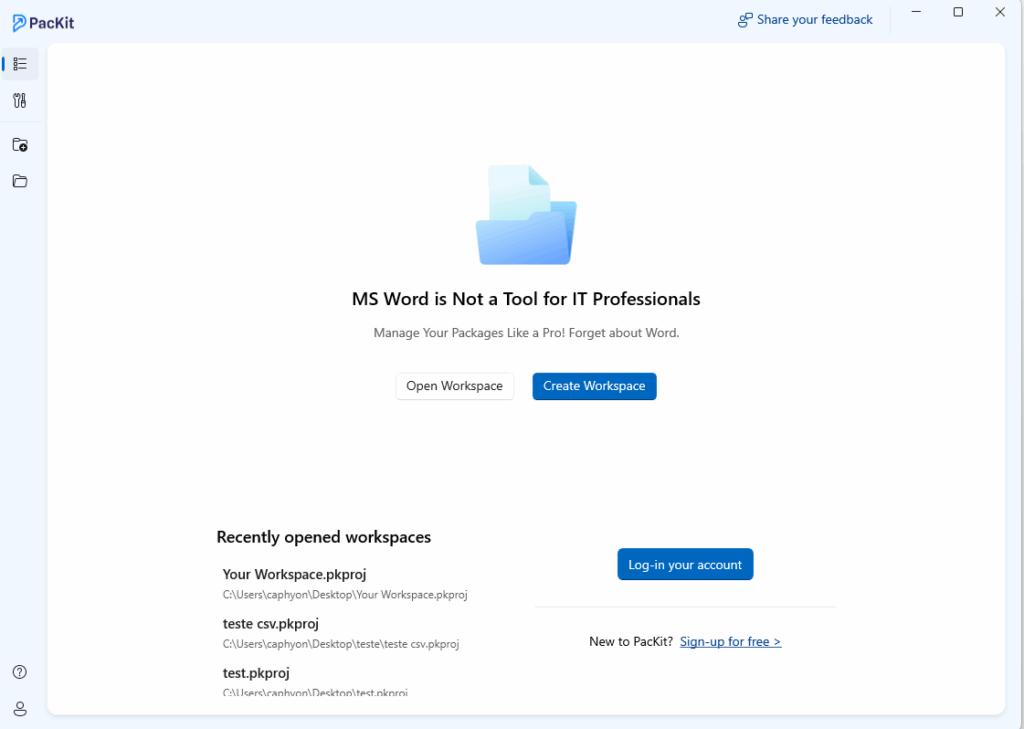
You will be prompted to save the workspace (a .pkproj file) in order to continue.
Adding a package
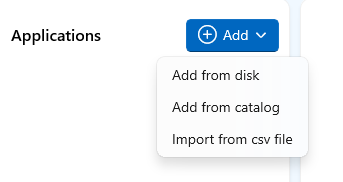
Once your workspace is created, you can add some packages either from the disk or from WinGet catalog. Just click on [Add…] pushbutton from the left pane:
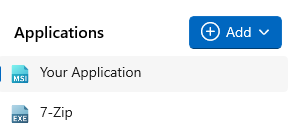
Let’s add a package from the disk and another one from the catalog. Once added to the workspace, the packages will be displayed in the left menu: :
Configuration
To save you valuable time, PacKit automatically populates all fields in Application Information and Package Information views for all packages.
Nevertheless, you can further customize these settings as you wish:

Wrap in PSADT
Next, let’s wrap the package in a PSADT script. To achieve this, go to the Package tab and click on Wrap With PSADT Action Button:

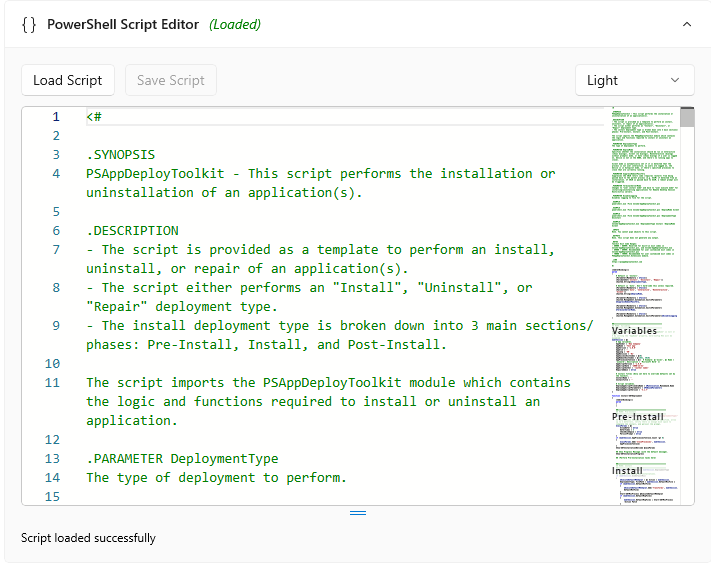
The script will be created, and you’ll notice a new PSADT tab in the right pane of the application:
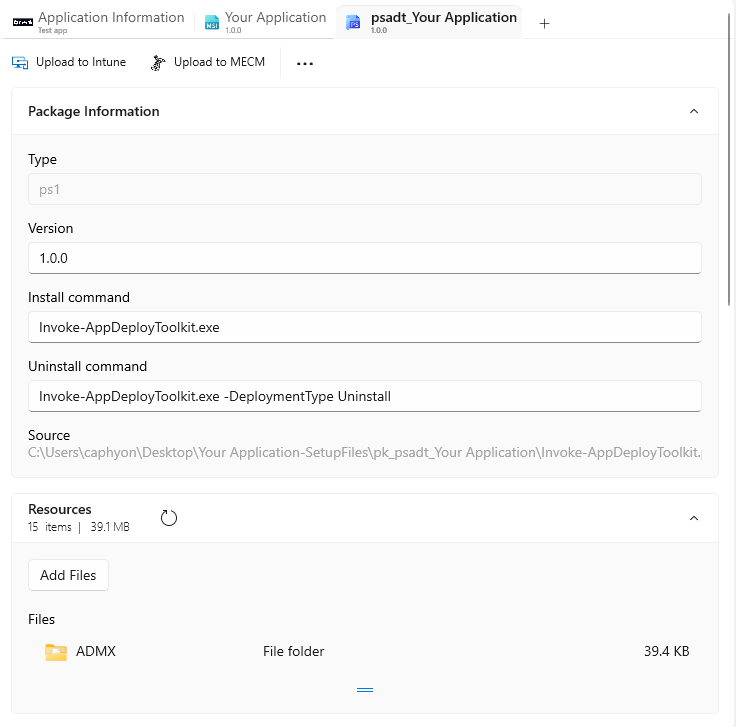
Also in this view, you can easily edit the script using our built-in editor if you need to:
Upload to Intune
Finally, you can easily upload the package to Intune with a few clicks. Just click on the dedicated Action Button in the package view:

For more information regarding the Intune integration in PacKit, see this article: Intune Login Experience.
