We know that there are two install contexts: user-context and system-context.
You can have an MSI that can be installed per user, allowing a normal user with no admin privileges to install the app. The MSI installed in the system-context requires elevation because it accesses system components and locations.
If you’re curious, you can learn more about building an MSI per user or per system here.
In an enterprise environment, admin privileges are not granted to every employee in the organization, and the applications are installed on users’ devices using a configuration manager application such as Intune.
As an admin, when you create a package and import it into Intune, you can upload it as a LOB app (MSI direct import), and the install context is automatically selected from the data inside the MSI (usually set by the property ALLUSERS=2), or you can select the install context if you create a Win32 app imported as .intunewin.
Usually, the majority of the applications are deployed per system, especially if you wrap them with PSADT, because most of the time, you need to make some script customizations that require system-level elevation.
However, in some cases, from a single PSADT script, you need to run setups in both the system and user context. Why?
There was a time when the famous RingCentral app was only released in a user context, despite the fact that all previous versions supported per-system installation.
Setting the ALLUSERS=1 property would have no effect. The application would have been installed, but not in the correct way. It would have treated the system context as the user and installed the app only for it, resulting in no files available under the regular program files installdir, nor any startup apps entry.
So, what do you do? You need a “hybrid” system-user context script.
Editing Your PSADT Script
Given that the previous version of the application is in system context and you don’t want to rely on Intune’s supersedence method of update (which, to be honest, isn’t that reliable), you’ll need a system-context PSADT script that first removes the previous version in a system context and then calls the install of the latest per-user MSI in a user context, impersonating the current logged-in user. Let’s see how you can do that.
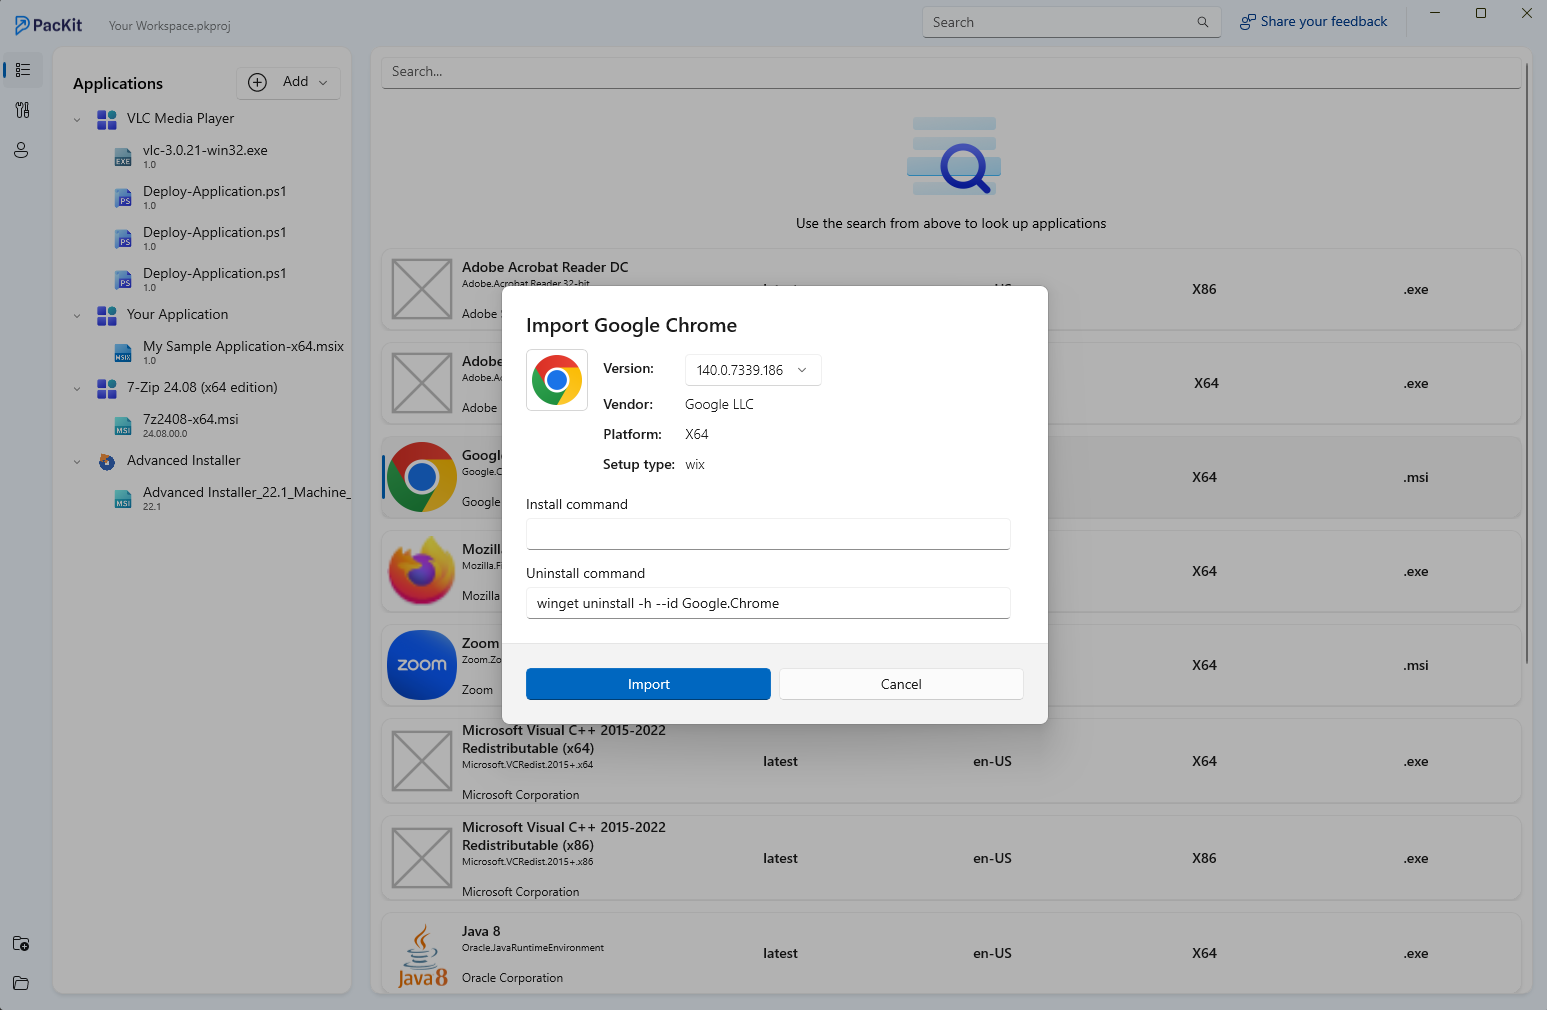
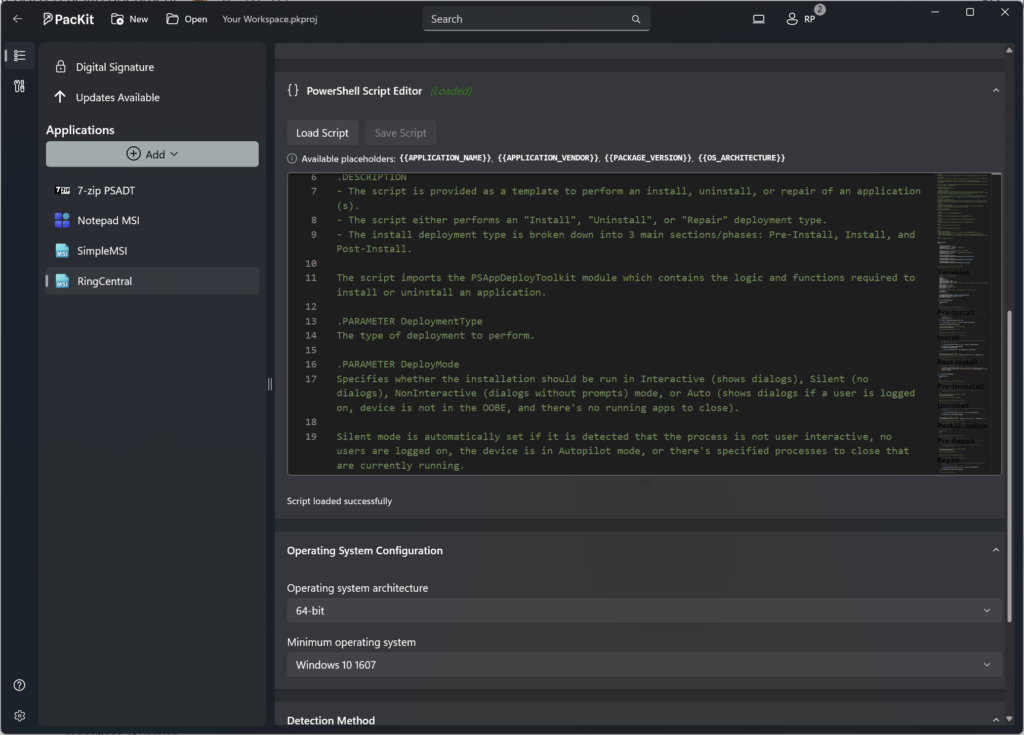
I use PacKit to keep my packages in a workspace, and I can edit the PSADT script directly from the interface (you can also trigger an opening of your favorite editor from it). The PSADT version used is 4.1.x.
The important sections of the PSADT are [pre-install] and [install].
In the [pre-install], we stated that we want to remove the previous version of the RingCentral app that was installed in system-context. For that, I use the following command:
Uninstall-ADTApplication -Name "RingCentral" -NameMatch Exact -ApplicationType 'MSI'This will remove any previous versions of applications called RingCentral that are the MSI type, regardless of version.
Next, we want to install the application’s “user-context” version. For that, we need to use the following command within the [install] section:
Start-ADTMsiProcessAsUser -Action "Install" -FilePath "$($adtSession.DirFiles)\RingCentralx64.msi"The Start-ADTMsiProcessAsUser cmdlet triggers the MSI install in the user context. Start-ADTMsiProcess triggers the installation in the system-context.
Now that our script is ready, we just need to make one more adjustment before converting it to an .intunewin file and uploading it to Intune.
Edit the PSADT config file. Why?
Start-ADTMsiProcessAsUser and Start-ADTMsiProcess automatically create install logs, which are saved in the standard PSADT log location, C:\Windows\Logs\Software, while running as system.
However, we run Start-ADTMsiProcessAsUser, which impersonates the user. So the user does not have permissions there, and we will run into an execution error.
Even if we use the -ArgumentList parameter to explicitly define the log location and provide a user log path, this will not override the default system location.
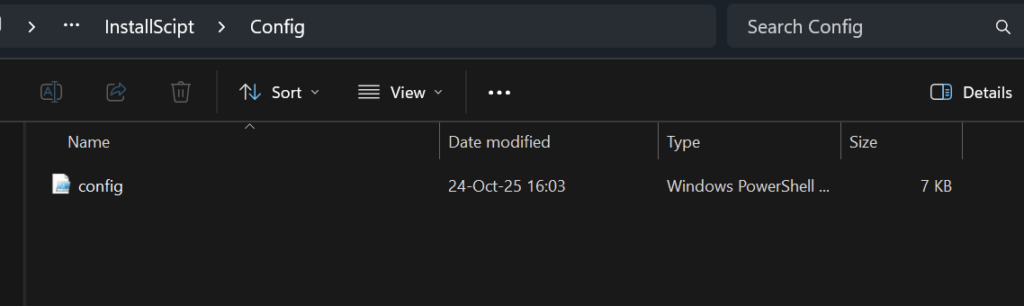
The solution is based on the config.psd1 file located in the toolkit’s parent Config folder.
Inside the MSI = @ section, you need to define a user-accesible path:
 MSI = @ {...
 # Log path used for MSI logging. Uses the same path as Toolkit when null or empty.
        LogPath = '$envCommonDocuments\Microsoft\IntuneManagementExtension\Logs'

        # Log path used for MSI logging when RequireAdmin is False. Uses the same path as Toolkit when null or empty.
        LogPathNoAdminRights = '$envCommonDocuments\Microsoft\IntuneManagementExtension\Logs'
…
}Same goes for Toolkit = @:
Toolkit = @{ …

 # Log path used for Toolkit logging.
        LogPath = '$envProgramData\Microsoft\IntuneManagementExtension\Logs'

        # Same as LogPath but used when RequireAdmin is False.
        LogPathNoAdminRights = '$envProgramData\Microsoft\IntuneManagementExtension\Logs'
…}Upload in Intune
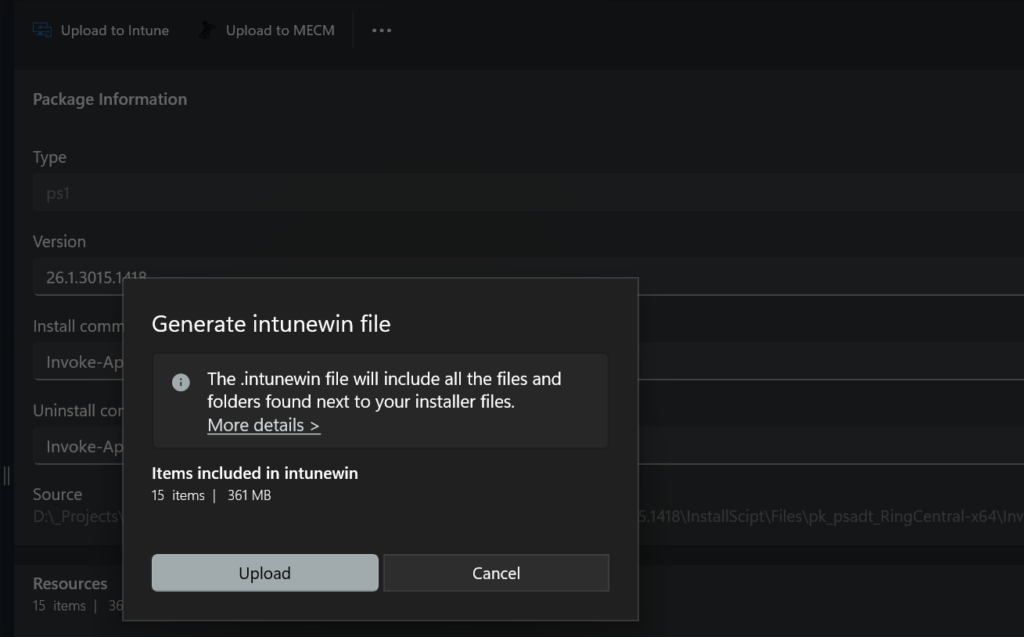
After you made the modifications and saved both the PSADT and the config.ps1 scripts, you can convert the application into an .IntuneWin file and upload it to Intune.
With a single click, Packit automatically converts your application to an .IntuneWin file and starts the upload to Intune.
Conclusion
PSADT once again proves itself as a powerful tool with constant improvements, allowing you to create complex, scripted, and hybrid installations.
When combined with PacKit, it creates an application packaging workflow that allows you to easily create, edit, and import applications to Intune.
Final Takeaways
- There are two install contexts: user-context and system-context.
- In some cases, a single PSADT script must execute setups in both system and user contexts. So you’ll need a “hybrid” system-user context script.
- In the [pre-install], to remove the previous version of the RingCentral app that was installed in the system context, use the following command: Uninstall-ADTApplication -Name “RingCentral” -NameMatch Exact -ApplicationType ‘MSI’
- To install the application’s “user-context” version, use the following command within the [install] section: Start-ADTMsiProcessAsUser -Action “Install” -FilePath “$($adtSession.DirFiles)\RingCentralx64.msi”
- Edit the PSADT config file: Inside the MSI = @ section, you need to define a user-accesible path. Same goes for Toolkit = @
- After you made the modifications and saved both the PSADT and the config.ps1 scripts, you can convert the application into an .intunewin file and upload it to Intune.
- Packit automatically converts your application to an .intunewin file and starts the upload to Intune.